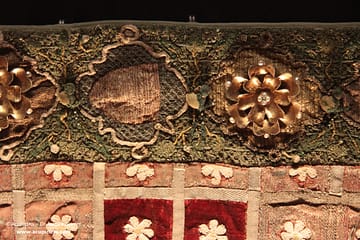
Identifying an embroidery stitch correctly on a historic piece is not always easy. As inspecting the back for correct identification is often necessary, historic embroideries can be challenging. Either the back cannot be checked due to a lining or is displayed, so it is inaccessible. The solution? Make embroidery samples and compare them with the original! One such piece is the ornate pearl and stumpwork mitre, made for the Sainte Chapelle in Paris, that I showed you a couple of weeks ago. The manger shows a ‘chain stitch like’ stitch executed in fine gold thread. Several suggestions for its correct identification were made on during the Medieval Embroidery Study Group meeting. Let’s see what the embroidery samples reveal.

The manger is tiny in reality. Its height is only about an inch. The suggested stitches were chain stitch, reverse chain stitch and knitting stitch. The RSN calls one version the Elizabethan Knitting Stitch. Queen Elizabeth I lived from AD 1533 until 1603. This mitre was made in the last quarter of the 14th century (i.e. AD 1375-1399). So, if this turns out to be knitting stitch, the stitch has a much older history. Let me know if you know of other medieval pieces that use this embroidery stitch.
My samples are approximately the same size as the original and were worked on 48 ct linen. I started by using Stech 50/60 Echt Gold/Seide. This thread is finer than 2% passing thread #3 (c. 0.2 mm). The number of stitches vertically in the vertical part of the manger is 9. This translated to 27 fabric threads. There are about four parallel rows of stitches next to each other. That meant that each row was worked over two fabric threads. I threaded my gold thread in a #24 tapestry needle to try each embroidery stitch.
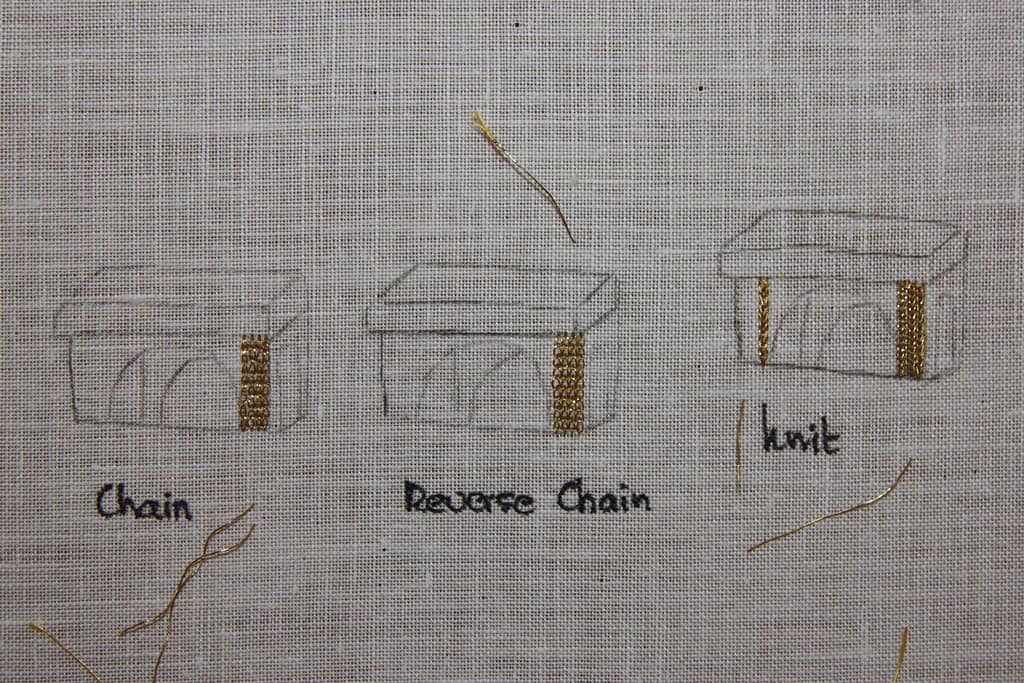
Stitching chain stitch and reverse chain stitch with a fine passing thread went surprisingly well. I was able to achieve the required number of stitches in both directions. However, the stitches are too ‘open’ and round compared to the original. Therefore, I think that the original is something else.
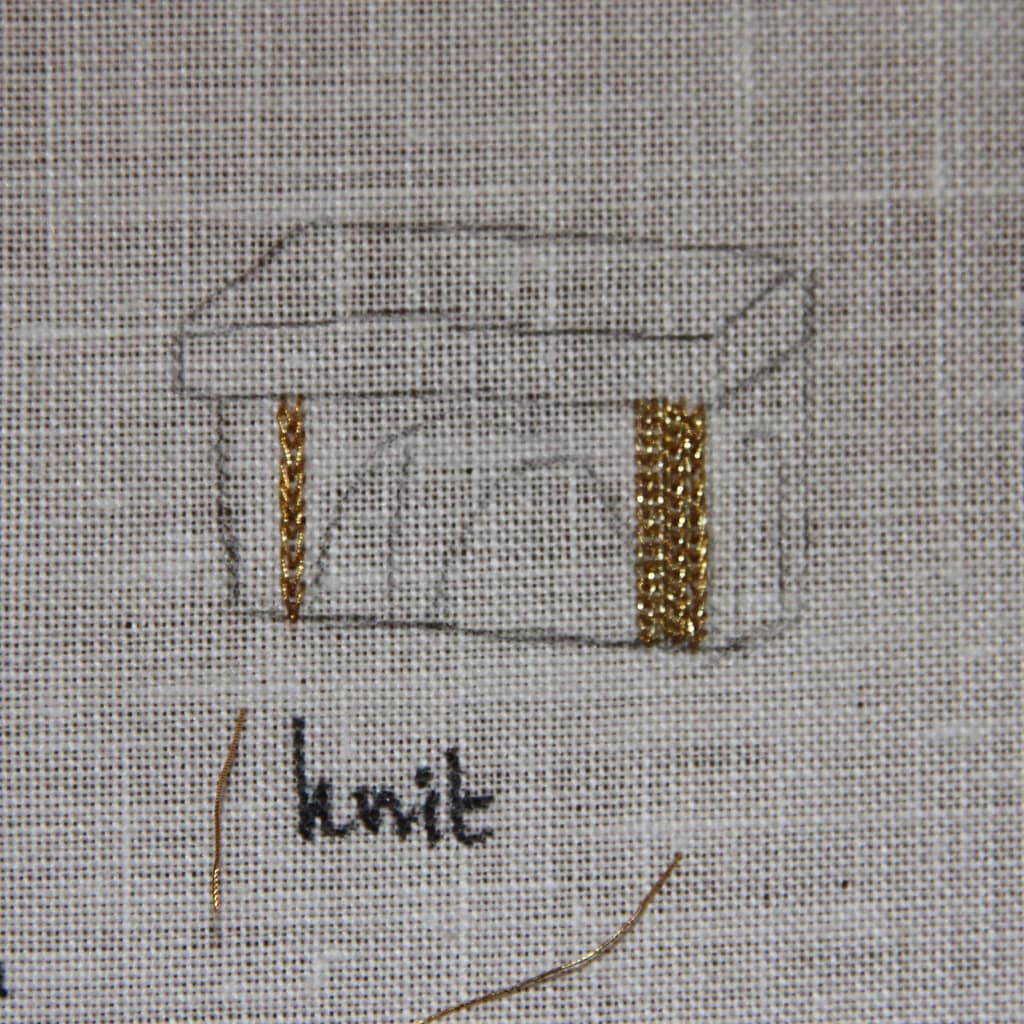
The knitting stitch seems to be the one! But it is a bully :(. The first row back and forth is okay, but the subsequent rows are not. This stitched surface produced so much glint that I could not see what I was doing. You can tell that my camera had the same problem. It can’t get a sharp focus.
It did become clear that my chosen passing thread was too fine. I went up a size (Stech 70/80) and modified the number of vertical threads I was working over (five, and the next stitch sits three threads above the first). This way, I achieved nine stitches vertically. However, what puzzles me greatly is that I can’t get the correct stitches in horizontally. Already with the finer passing thread, I could only get three back-and-forth rows in instead of 3,5 to 4, as seen in the original. Any suggestions? Do try these stitches with passing thread. It is great fun and makes for a lovely texture!

0 Comments