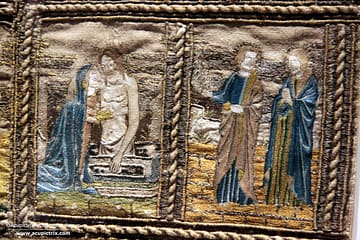
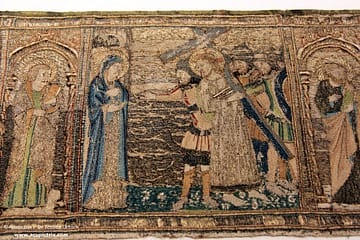
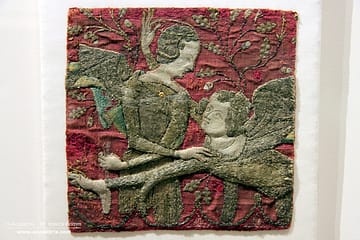
Today’s embroidery tutorial was inspired by the tablecloth of the Last Supper in a 14th-century Italian embroidery. By couching down a pair of twisted cream silk threads with a thin, untwisted cream silk thread, it looks as if the tablecloth is made of damask. This is a clever way to introduce subtle texture and patterning into your embroidery. So, how was it done?

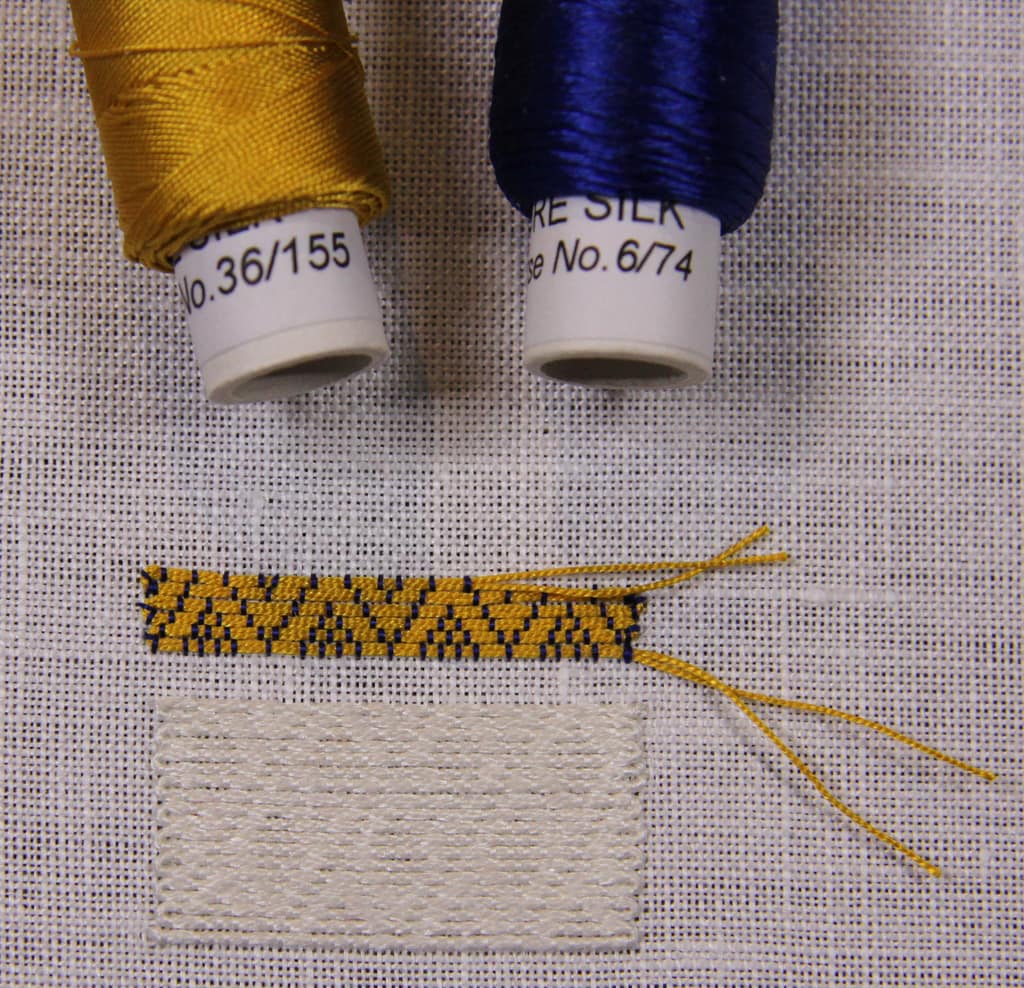
As said, the silk threads that are being couched down are twisted. A good modern equivalent is DeVere Yarns #36. My sample was stitched on Sotema 30L Ricamo. It is a 48 ct evenweave Italian linen. Working tone in tone is taxing on your eyes. Please make sure you have sufficient light and possibly magnification.
Working diaper pattern couching with silk only works nearly the same as with gold threads. You will just need an extra stitch in the turns (silk threads are not stiff and will collapse otherwise), and you will need to plunge the tails. Simply snipping them off will not work, as silk is far more slippery than metal threads are.
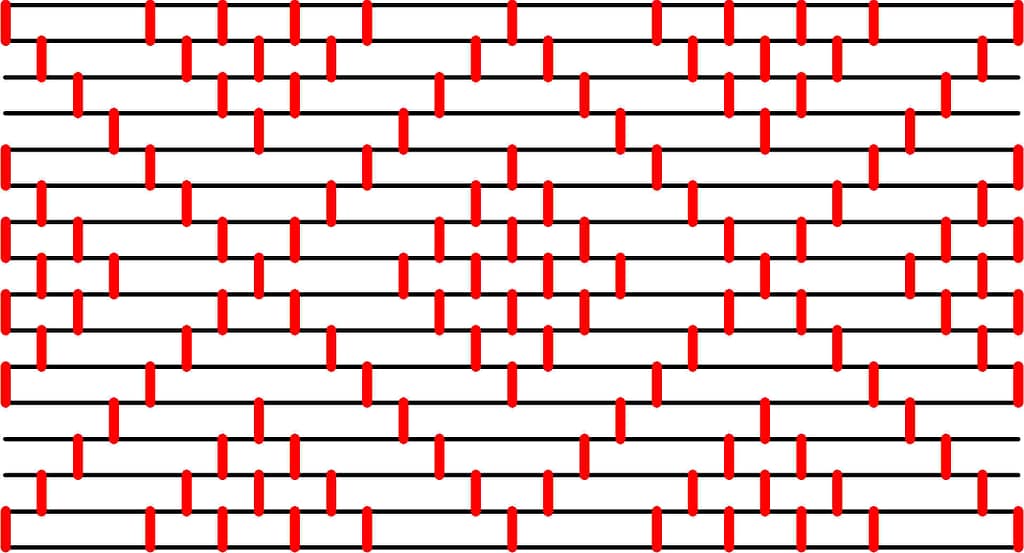
So, how do you read the diaper pattern diagram above? The horizontal black lines represent the pair of threads you want to couch down. The short red dashes are your couching stitches. In order to know how many fabric holes there are between two consecutive couching stitches, you will need to see how many couching stitches will fit in between. You do this by mentally “collapsing” the rows. For instance, the bottom row reads like this: couching stitch, three holes, couching stitch, hole, couching stitch, hole, couching stitch, hole, couching stitch, three holes, couching stitch, three holes, couching stitch, hole, couching stitch, hole, couching stitch, hole, couching stitch, three holes and couching stitch.
You can work your embroidery tutorial sample any size you like. I like to start my couching thread with a simple knot on the back. However, if you are more comfortable with a different anchoring method, please go ahead. Similarly, I weave the end of my couching thread in on the back and start a new one with a knot again. I plunge the tails of my couched silk threads to the back and weave them in too (perhaps leave slightly longer tails than you would with metal threads or use a Star De-Tailor – Floss tail hiding tool!
If you find value in what I do, please consider becoming a Member. Members will find a downloadable PDF of this embroidery tutorial (complete with video instructions) in the members-only area of my website. Members also have instant access to all my embroidery courses, the forum, eBooks and live events!
0 Comments